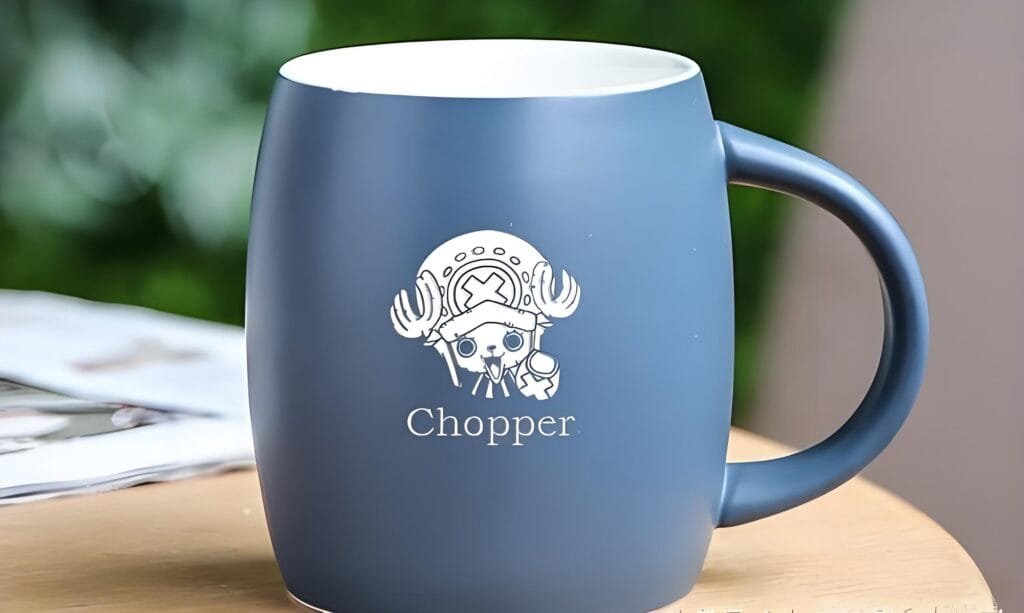

Laser engraving technology has quickly become the tool of choice for makers, businesses, and craftsmen with its high precision and versatility. From personalized gift customization to industrial parts marking, laser engraving is changing the way we design and manufacture products. Whether it is engraving wood, metal, acrylic, or leather, laser engraving machines can easily complete the task. This technology is not only suitable for artistic creation, but also widely used in manufacturing, such as QR code marking on electronic products or precise patterns on molds. Learning how to use a laser engraver is not a complicated thing. You only need to master the basic functions and operation methods of the equipment to easily start your creative journey. This article will take you from entry to mastery, and explore in depth how to properly set up and use a laser engraver to make your creative ideas come true.
Explore the core structure and terminology of laser engraving machines
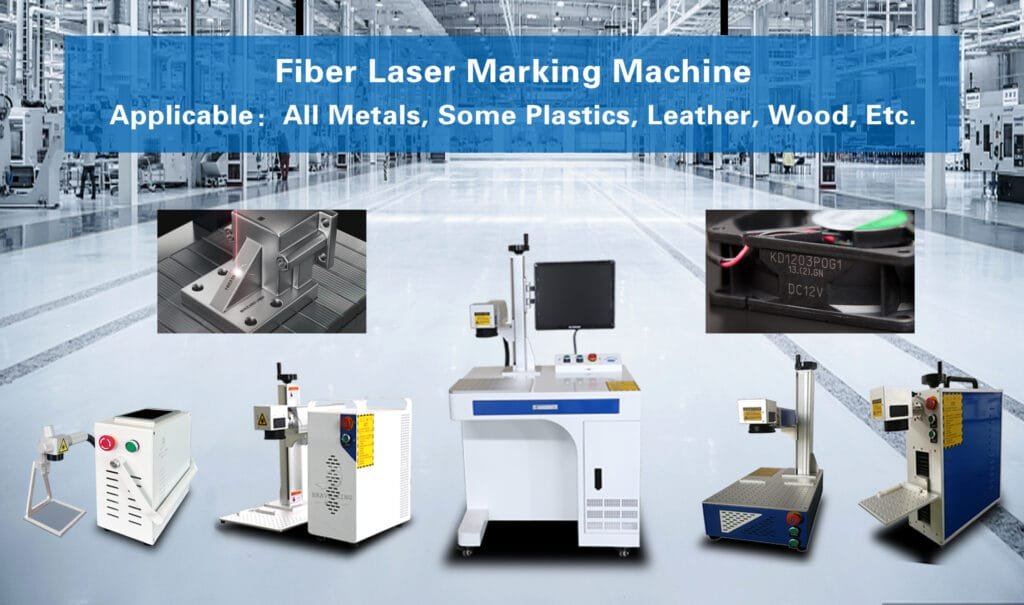
- A Laser Engraver is a sophisticated tool, and understanding its core structure can help you use it more efficiently. Its core structure includes the laser module, control system, stepper motor, and exhaust device. The laser module is the “heart” of laser engraving and determines the engraving performance of the machine. The control system controls the laser path through software instructions and is the bridge for users to interact with the machine. The stepper motor ensures that the laser head can move on the specified track, while the exhaust device is used to remove smoke and odors generated during the processing.
- The basic terms related to this are also important. For example, “focal length” refers to the optimal distance from the laser to the surface of the material, which is a key parameter affecting the engraving accuracy; “engraving range” is the maximum area where the machine can work; “speed control” refers to adjusting the movement speed of the laser head to adapt to different materials and engraving needs. After understanding these components and terms, you will be able to complete laser engraving tasks more easily and improve operational efficiency.
Laser engraving machine installation step one: easy assembly from scratch
- Assembling Laser engraving technology can be tricky for beginners, but it only takes a few steps to complete. These steps include mounting the frame, securing the laser head, and connecting the power supply. First, remove all the parts from the packaging and check the list to make sure nothing is missing. Next, follow the instructions to connect the parts of the frame together, keeping them level to ensure stable operation.
- When installing the laser head, be especially careful to avoid touching the lens. After securing the laser head to the bracket, connect the necessary power cables. Make sure each cable is firmly plugged into the corresponding socket to avoid poor contact during use. Finally, check that the power and cooling system connections are normal, and try to turn on the machine to test whether everything is working properly. The initial installation may take some time, but with patience, you can complete this critical step and lay a solid foundation for subsequent engraving work.

How to choose the right material and software for laser engraving?
- When learning how to use a laser engraver, choosing the right materials and design software is crucial. Common engraving materials include wood, acrylic, stainless steel, and leather. Wood is a popular choice for beginners because it is easy to cut and carve, making it especially suitable for creating personalized gifts and signs. Acrylic is popular for its transparency and variety of color options, and can be used to create light boxes and decorations. Stainless steel is often used for nameplates and industrial signage due to its durability. And leather can be used for high-end customization, such as wallet or watch band engraving.
- When it comes to design software, LightBurn, CorelDRAW, and Adobe Illustrator are the most commonly used options in the market. Designed specifically for laser engraving, LightBurn is user-friendly and full-featured, making it perfect for beginners. CorelDRAW and Adobe Illustrator are more suitable for users who need complex designs, providing a variety of drawing tools and powerful editing functions. Export the design to a compatible file format (such as DXF or SVG) and then import it into the engraving machine to run. By rationally selecting materials and software, you can significantly improve the success rate of engraving while meeting different creative needs.
From scratch to finished product: a full analysis of the first experience of laser engraving
Laser engraving is fun, but to successfully complete your first project, you need to follow clear steps and safety guidelines. Before you begin, carefully check the device connection, power status, and the fixation of the engraved material. Upload the design file to the engraving software and select the appropriate engraving parameters. This step is especially critical, because too high power may burn the material, and too slow speed will affect efficiency.
After the engraving starts, you need to keep the environment around the machine well ventilated to exhaust the smoke and dust generated during the engraving process. Observing the operation of the machine is an important habit for novices to develop. If you find that the engraving edge is rough or the depth is insufficient, you can pause the operation, adjust the parameters and start again. To ensure safety, do not directly touch the laser area with your hands or try to move the material while the machine is running.
After the project is completed, clean the surface of the material and the inside of the machine in time to extend the life of the equipment. For problems that arise, such as uneven engraving depth or skewed patterns, you can try to fix the material more accurately and further optimize the size of the design file. As you become more proficient in the operation, laser engraving will become easier and more interesting, opening the door to unlimited creative possibilities for you.